
About Ric's Plumbing
Calls come in with descriptions of slow drains or damp walls. Technicians gather details on recent work or pipe age before loading cameras and cutters. At the site they begin with visible joints and accessible cleanouts, then move to hidden sections only after surface checks. Findings get described using the actual pipe materials and root patterns observed, and debris is removed before departure.
Questions about a job? Start on the Ric's Plumbing homepage or call (888) 627-1022.
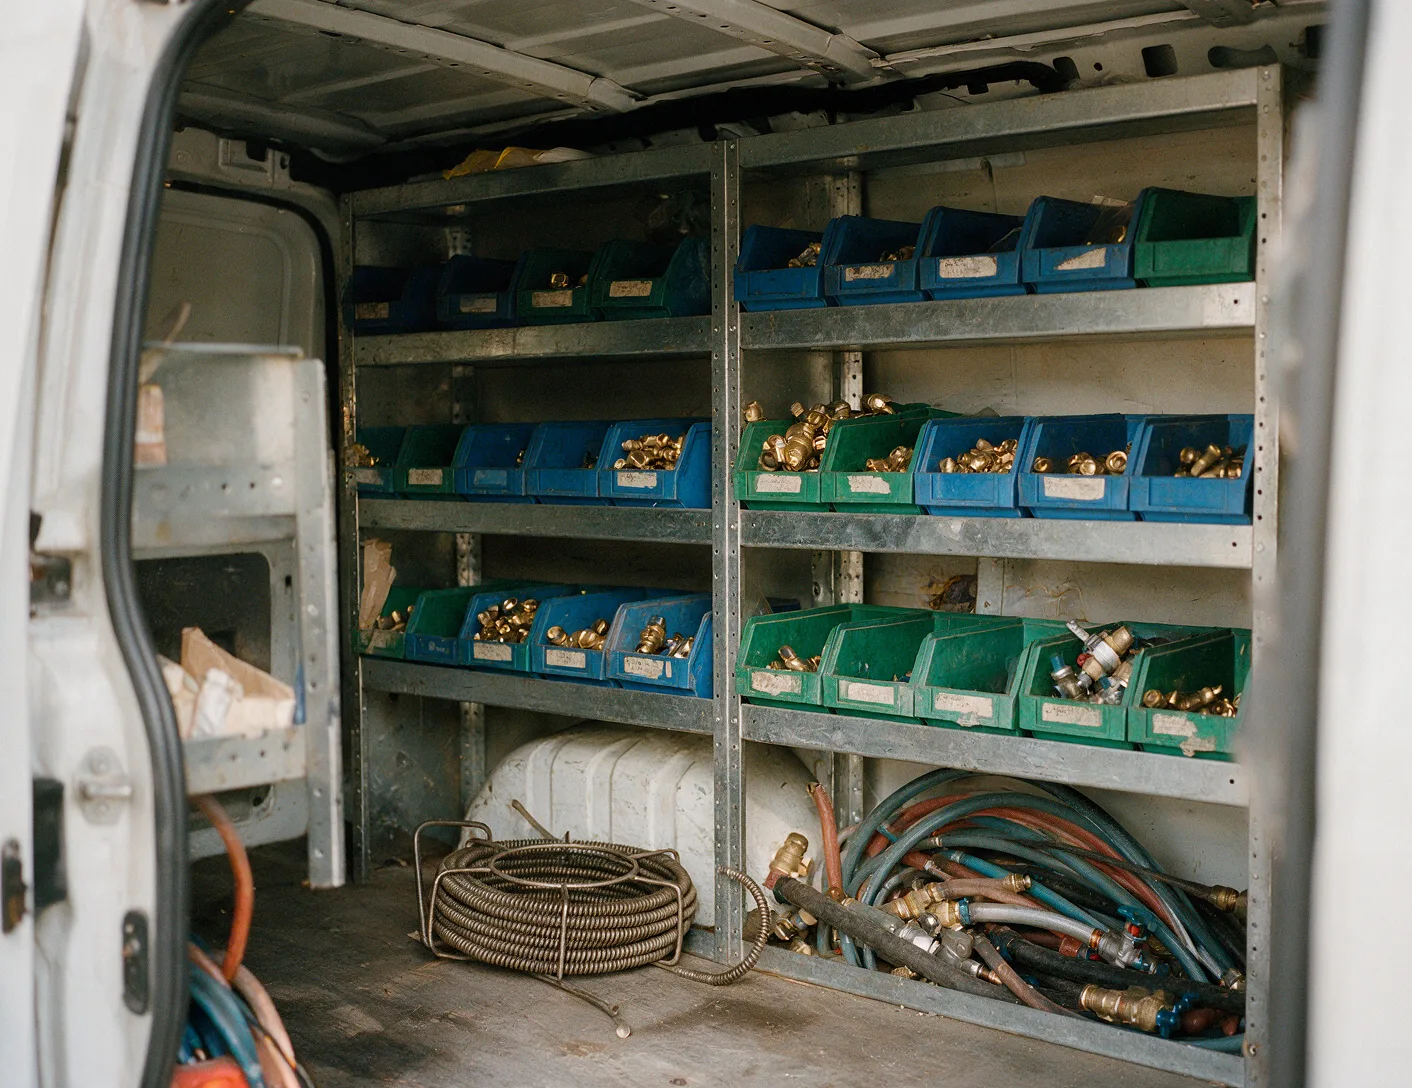
Symptom Based Prep
Call details on flow and sounds guide the exact tools loaded so the first cut or camera run addresses the reported issue directly.
Visible Line Mapping
Camera footage is paused at each joint so homeowners see root entry points or fitting corrosion without needing to interpret technical terms.
Layered Backfill
Soil is replaced in compacted layers and sod reset to reduce future settling around repaired sewer sections.
Final Camera Pass
A post-repair recording confirms flow through the fixed section before any equipment leaves the property.
Call Intake Process
Technicians ask about water flow rates, gurgling sounds in specific fixtures, and any recent excavation near the property. These details point toward likely spots such as branch line connections or main stack offsets where roots commonly enter. Notes are made on pipe material mentioned by the homeowner so the correct cutter heads and camera heads travel with the crew.
Homeowners can safely shut off water at the main valve and avoid running additional fixtures once a blockage is suspected. This step prevents further backup into living spaces while the technician travels. The call log also records any prior attempts with chemical cleaners so the crew knows to check for residue that can mask actual clog locations.
Arrival and First Checks
On arrival the technician starts at the cleanout nearest the reported symptom rather than opening walls immediately. A camera is run first through the line to record root density, grease buildup, or collapsed sections before any digging begins. Measurements of distance to the obstruction are taken so the excavation point can be kept to the smallest necessary size.
Accessible valves are tested for proper shutoff function and packing condition. Corrosion flakes around threaded joints are noted because they often indicate electrolysis between dissimilar metals. The homeowner is shown the camera footage on the monitor so the exact distance and nature of the restriction can be seen without technical jargon.
Explaining What Was Found
Once the camera reaches the problem the technician pauses the recording at each fitting or offset and points out whether the blockage sits at a belly in the line or at a root mass entering through a joint. Pipe material is identified on screen so replacement options can be discussed using correct terminology such as ABS versus cast iron.
Homeowners receive a simple map of the line route drawn on site with the obstruction marked. Instead of general promises, the technician lists the conditions that allowed the issue to develop, such as nearby tree species whose roots follow moisture or soil settling that created low spots.
Finishing and Site Return
After the repair the excavation is backfilled in layers and the surface is raked to match the surrounding grade. Any sod removed earlier is replaced, and the area is walked to settle loose soil so future settlement is minimized. Tools and scrap pipe pieces are collected and removed from the property.
The final camera pass verifies flow through the repaired section. The homeowner is shown the clear line before the camera is withdrawn. Access covers are secured and any disturbed insulation or drywall patches are left ready for the homeowner's preferred finisher.